
Your shopping cart is empty!

\n\n
A little peak into our production
\nEver wondered how most of your customized tshirts are printed? Here’s a glimpse of the magic that brings your designs and imaginations to life! At EL Print, close to 90% of our apparels are printed using the silk-screen method. Silk-screen is the most commonly used and cost-effective method for bulk printing.
\n\n
\n\n
8 key steps to silkscreen printing :
\n\n
\nStep 1: Creating the outline
\nOnce the tshirt design is approved for production, a stencil is prepared by printing the actual-sized design in black onto a film, known as kodatrace.
\n\n
\n\n
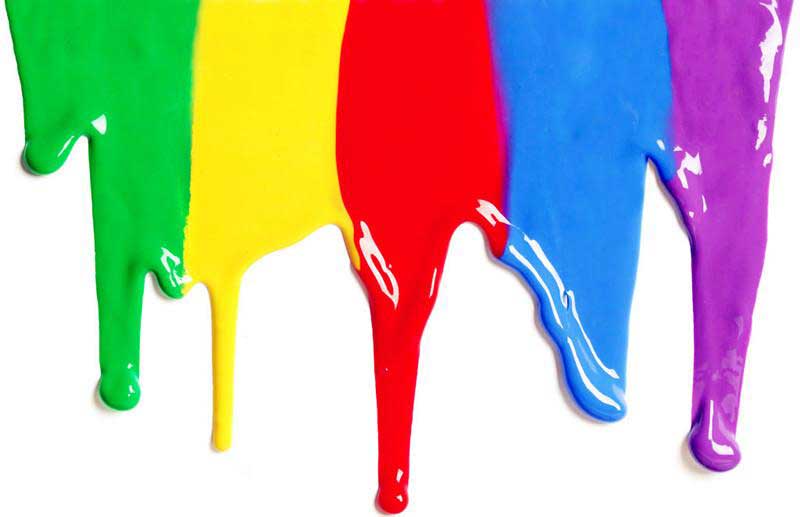
Step 2: Special Emulsion Coating
\nFor each colour in the design, one screen is needed. Light-sensitive emulsion is coated on the screen mesh, stopping ink from seeping through where it is not supposed to when printing.
\n\n
\n\n
\n\n
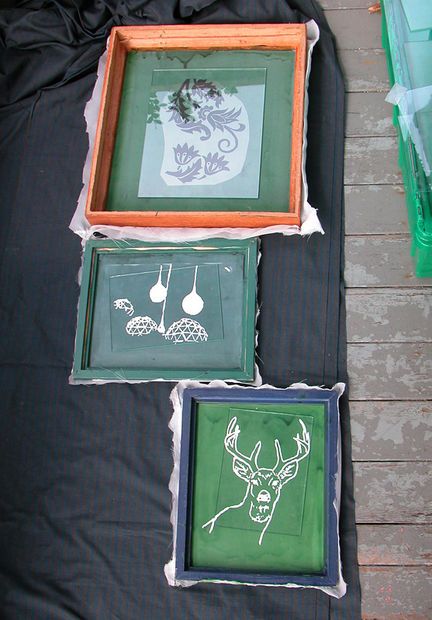
Step 3: Exposing the screen
\nThe coated screen mesh is placed on top of the kodatrace and will then be exposed to ultra-violet (UV) light for a specific amount of time. Thereafter, the screen will be rinsed with water, leaving a negative image on the stencil. Once design details have been ascertained to be accurate, the screen will be left to dry.
\n\n
\n\n
Step 4: Ready for print
\nPlace the tshirt on a holder, securing it with mild adhesive spray and align the print area, ensure that stencil is well blocked out on areas that should not receive ink.
\n\n
\n\n
Step 5: Setting the screen mesh
\nOnce the stencil and tshirt is in place, line up the screen mesh (mounted on a wooden frame). Pour the desired ink onto the frame, keeping the printer's hands and non-print areas free from ink.
\n\n
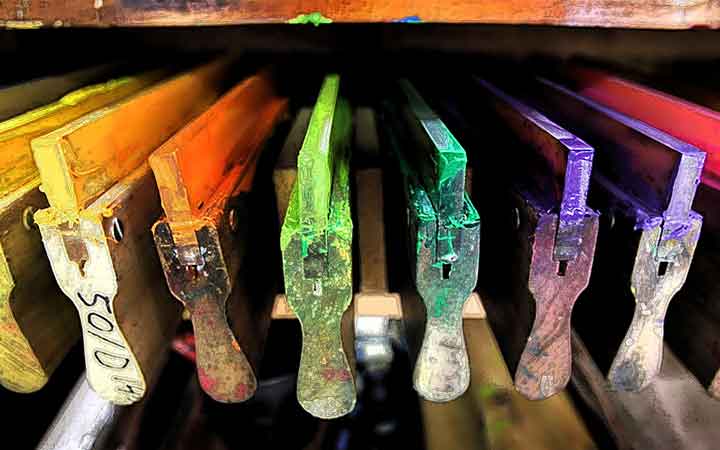
\nStep 6: All set to ink
\nUsing a squeegee, press the ink through the screen at an angle and with consistent pressure for an even print. This removes any excess ink, allowing only areas not blocked by the stencil to be inked. Repeat this step until all colours have been printed, wet on wet.
\n\n
\n\n
\n\n
Step 7: Drying out
\nAfter all layers of colours have been printed, the tshirt will run through a large dryer at a specific temperature, baking the print onto the tshirt.
\n\n
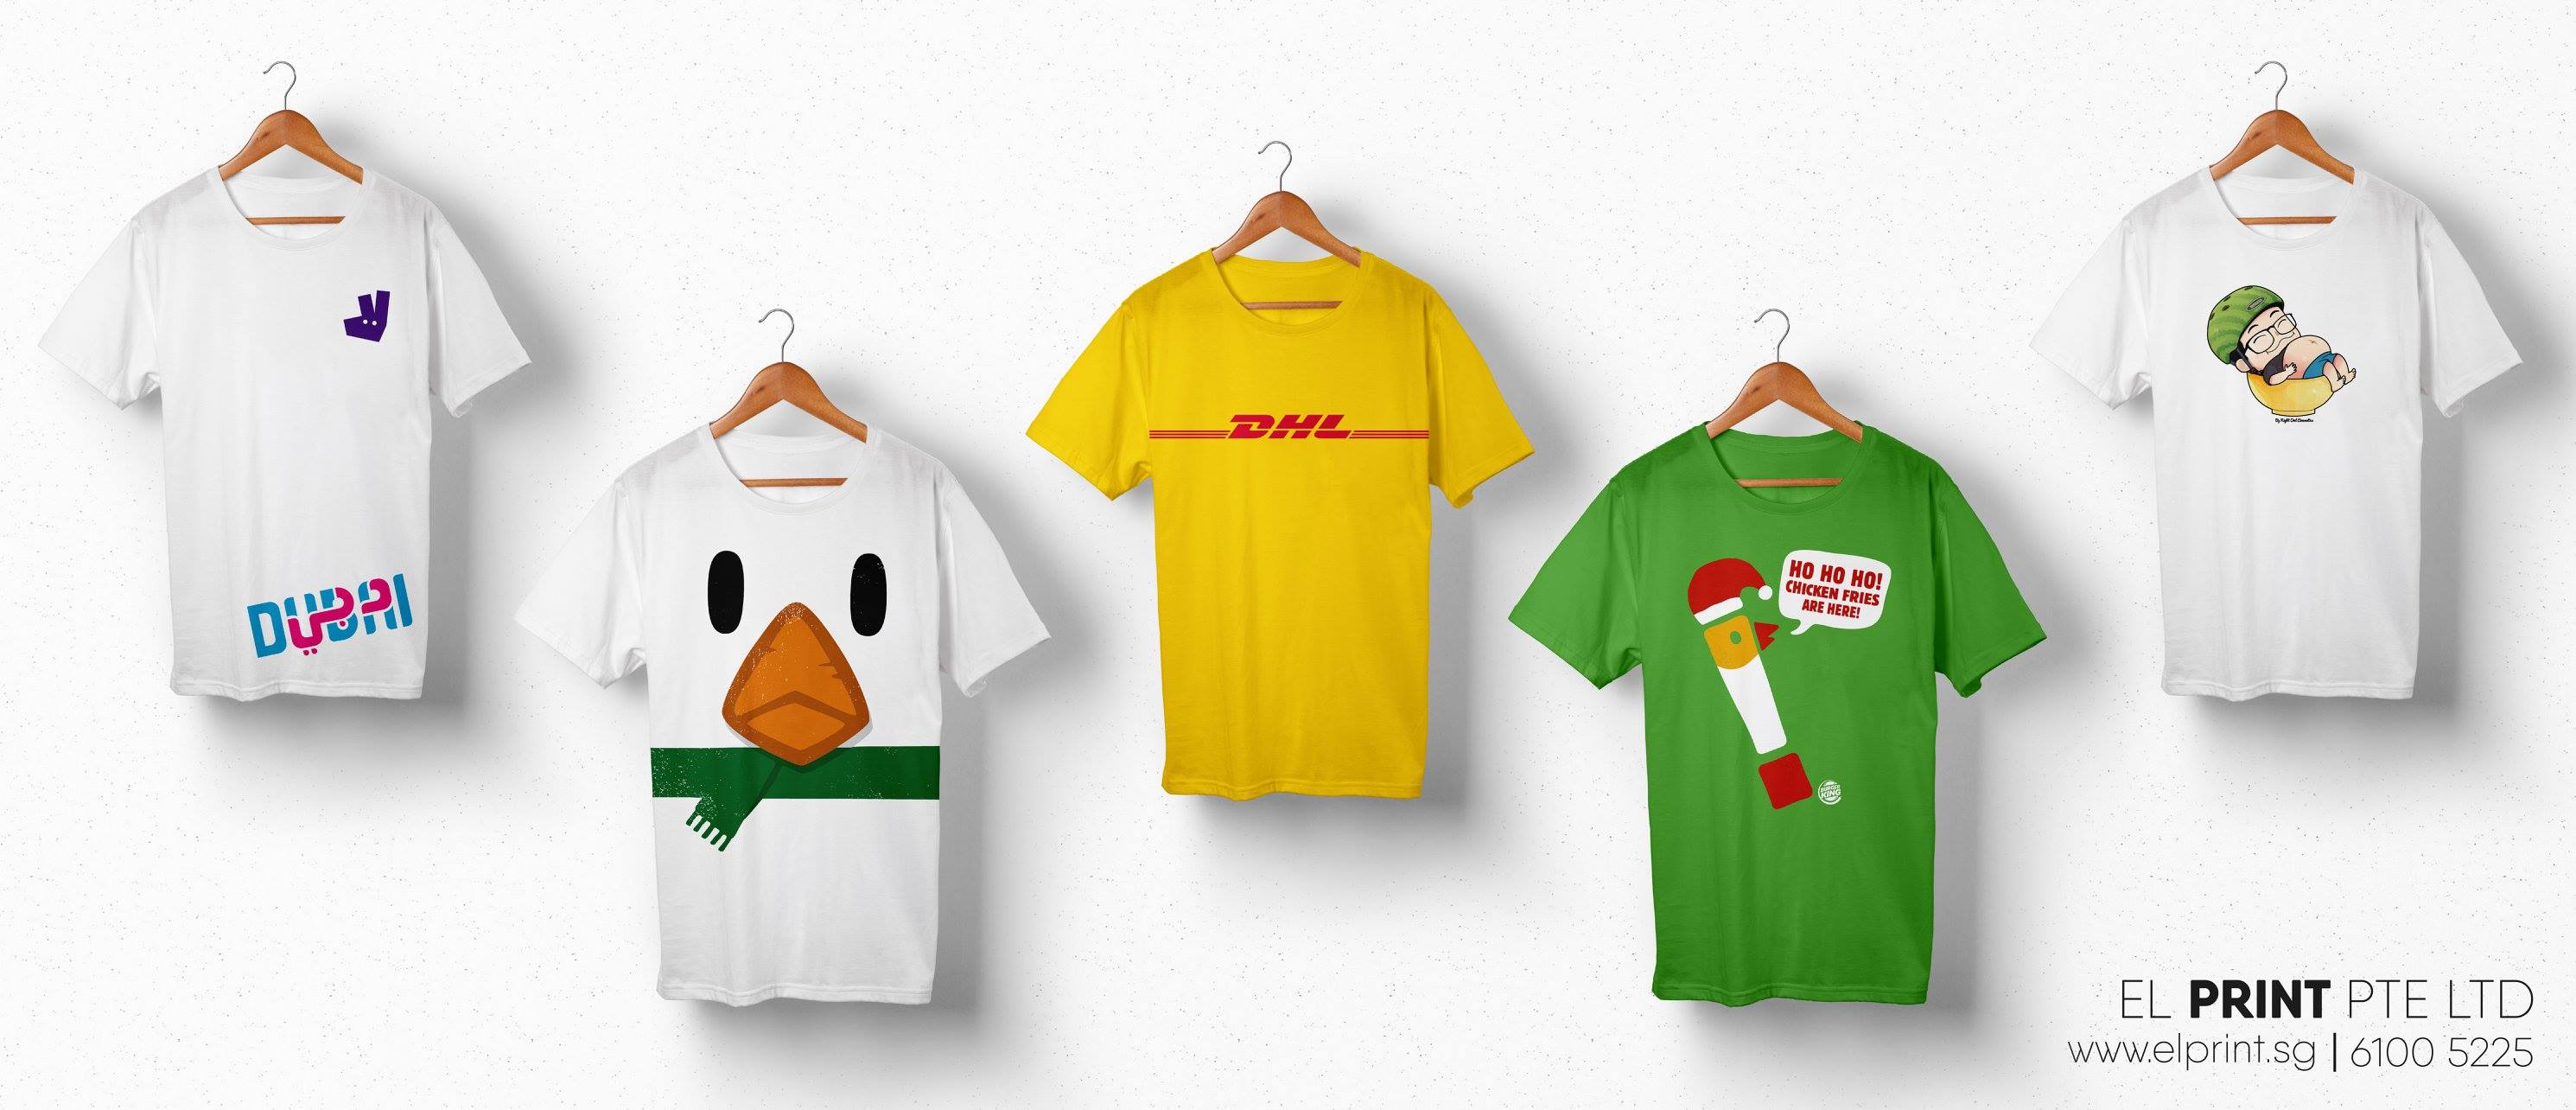 (Samples of @ELPrint's past silkscreen work)
\n\n
\nStep 8: Pack and dispatch
\nOnce the shirt has been fully dried out, quality checks will be conducted before packing and dispatching them.
\nIn silk-screen printing, there are some common processes which EL Print adopts to ensure that the tshirt prints delivered are of the finest quality :)